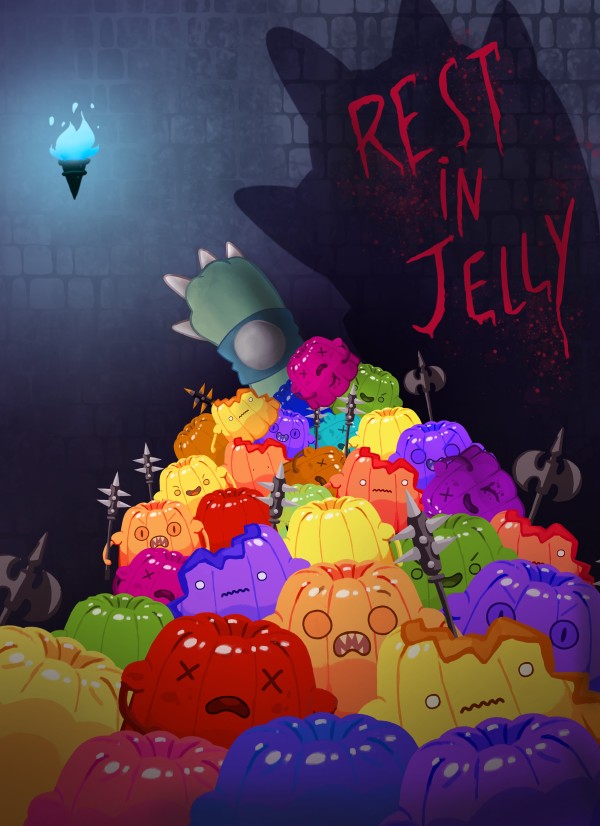
It’s not a small replacement –legendary game designer Tim Schafer would say that it’s the most important thing, and we have taken it as seriously–, but neither it is the only one. We’ve also changed the graphic style of the game, the music accordingly, the look of the characters… In short, anything but the core mechanics: run, gun and jump. Anyway, gameplay keeps evolving with new challenges and game modes built around that basic premise.
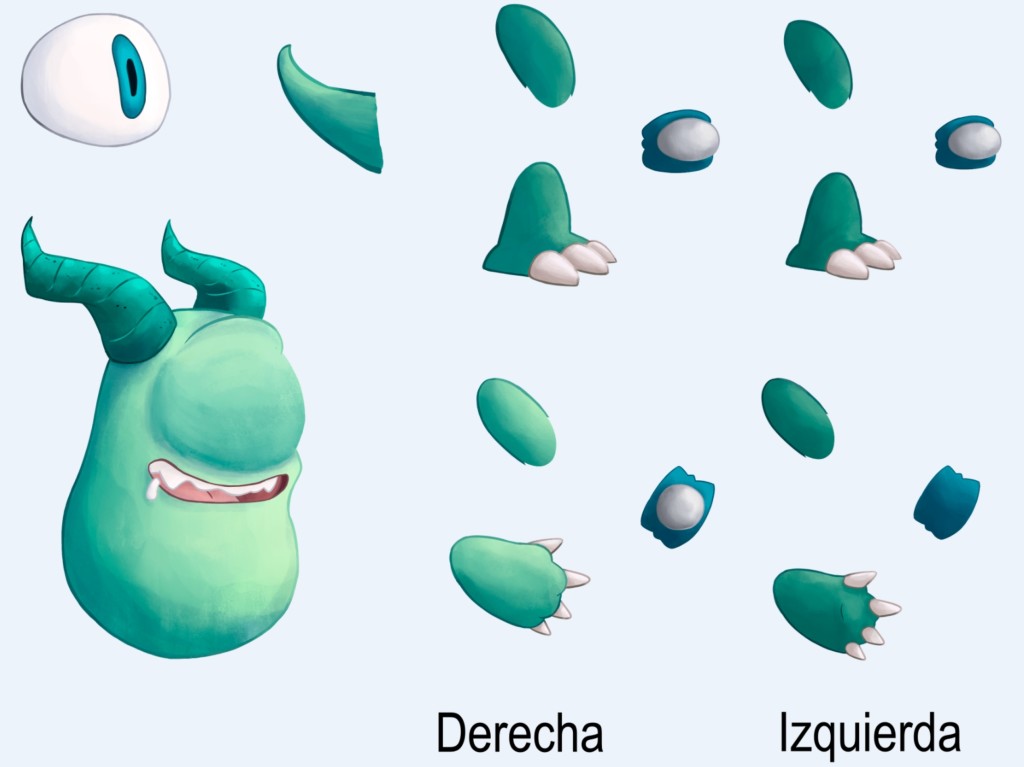
Today we won’t talk about changes as much as we’ll briefly explain a consequence of these changes. So far, following the pixel art style associated with ‘Jelly is Life’, the characters in the game were all drawn and individually animated frame by frame. However, in ‘Rest in Jelly’ we’re opting for a closer-to-illustration style, so we’re drawing the new characters that better fit the new environments and then splitting them in pieces, as if they were 2D puppets. This setup is similar to that of cutout animation –as seen in South Park, Angela Anaconda and others.

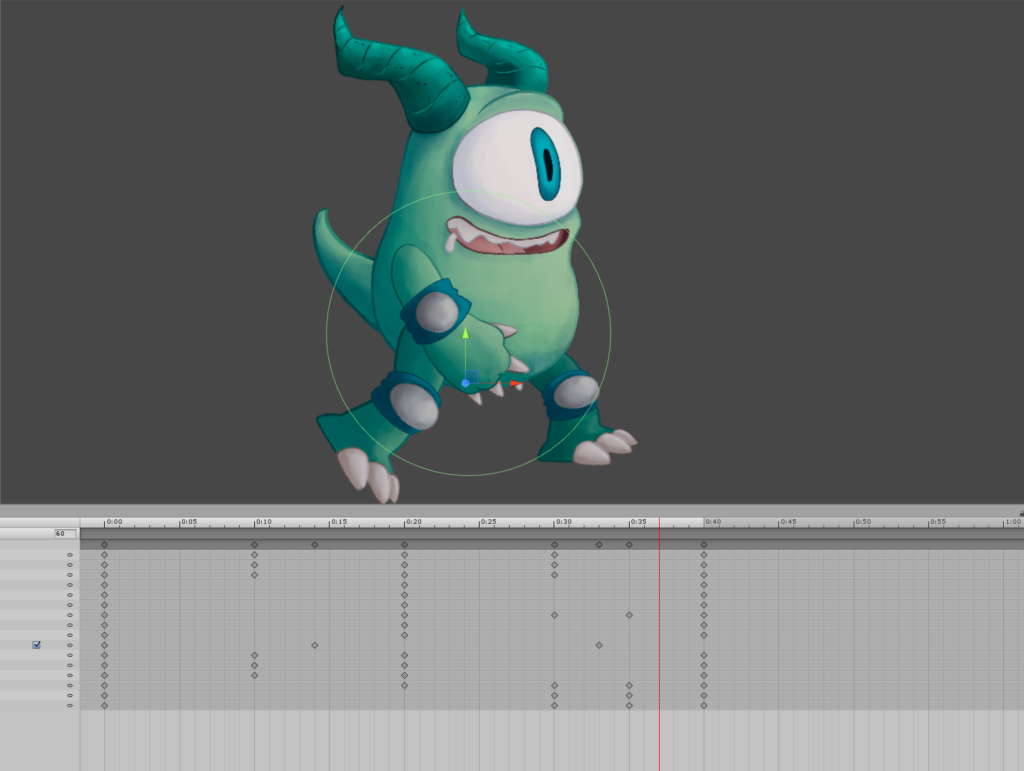
There are several ways to animate characters by using a 2D rigging –i.e. attaching bones to every different part of it. You can choose many programs to prepare a good rigging, from generalists 3D Studio Max and Blender to specific tools such as Spine or Spriter. Whatever you choose, in the end the process will likely involve moving, rotating and scaling bones by inserting keyframes on a timeline. Then, you’ll export the result to Unity.
There are different ways to export the animation and leaving it ready for the game engine to import it. You can create directly a large atlas composed of all the individual animation frames, a result that is formally very similar to traditional step by step animation, the one we were using with pixel art. Moreover, in some cases you’ll have the option to export only an image with all the character’s pieces and coded so the engine will interpret it properly. If anything, that means a smaller file size.
There are a lot of tutorials explaining how to create a basic 2D rigging in Blender, 3D Studio Max, Spine or Spriter, and others we’re not mentioning. However, we have finally chosen to cut out the middlemen and animating directly in Unity. How? It’s very easy. Just like this.
Actually, that tutorial sums up very well the first steps to make a 2D animation in Unity. You just have to create a single image with the parts of the character well separated from each other so that they can fit into rectangular boxes without overlapping. Use Photoshop or any other image editing program to draw, export in your favorite file format and that’s it. After that step, the tutorial explains everything.

